High Jump Technique: Mastering the Fosbury Flop for Maximum Efficiency
Mastering the Fosbury Flop technique involves converting horizontal speed into vertical lift through precise biomechanics, enabling jumpers to clear challenging heights by passing their center of mass up.

TL;DR
The Fosbury Flop maximizes jump efficiency by leveraging a "J-curve" approach, converting horizontal velocity into vertical lift. A consistent 7-step approach sequence, combined with specific arm and knee actions, can add 2-5 inches to clearance.
# In This Article
7 sectionsQuick navigation to each section of this article:
Quick Tips
- Practise a consistent J-curve approach from a full run.
- Drive the lead knee forcefully while using a powerful arm swing.
- Select high jump spikes matched to your body weight and jump style.
What Is the Fosbury Flop and How Does It Work?
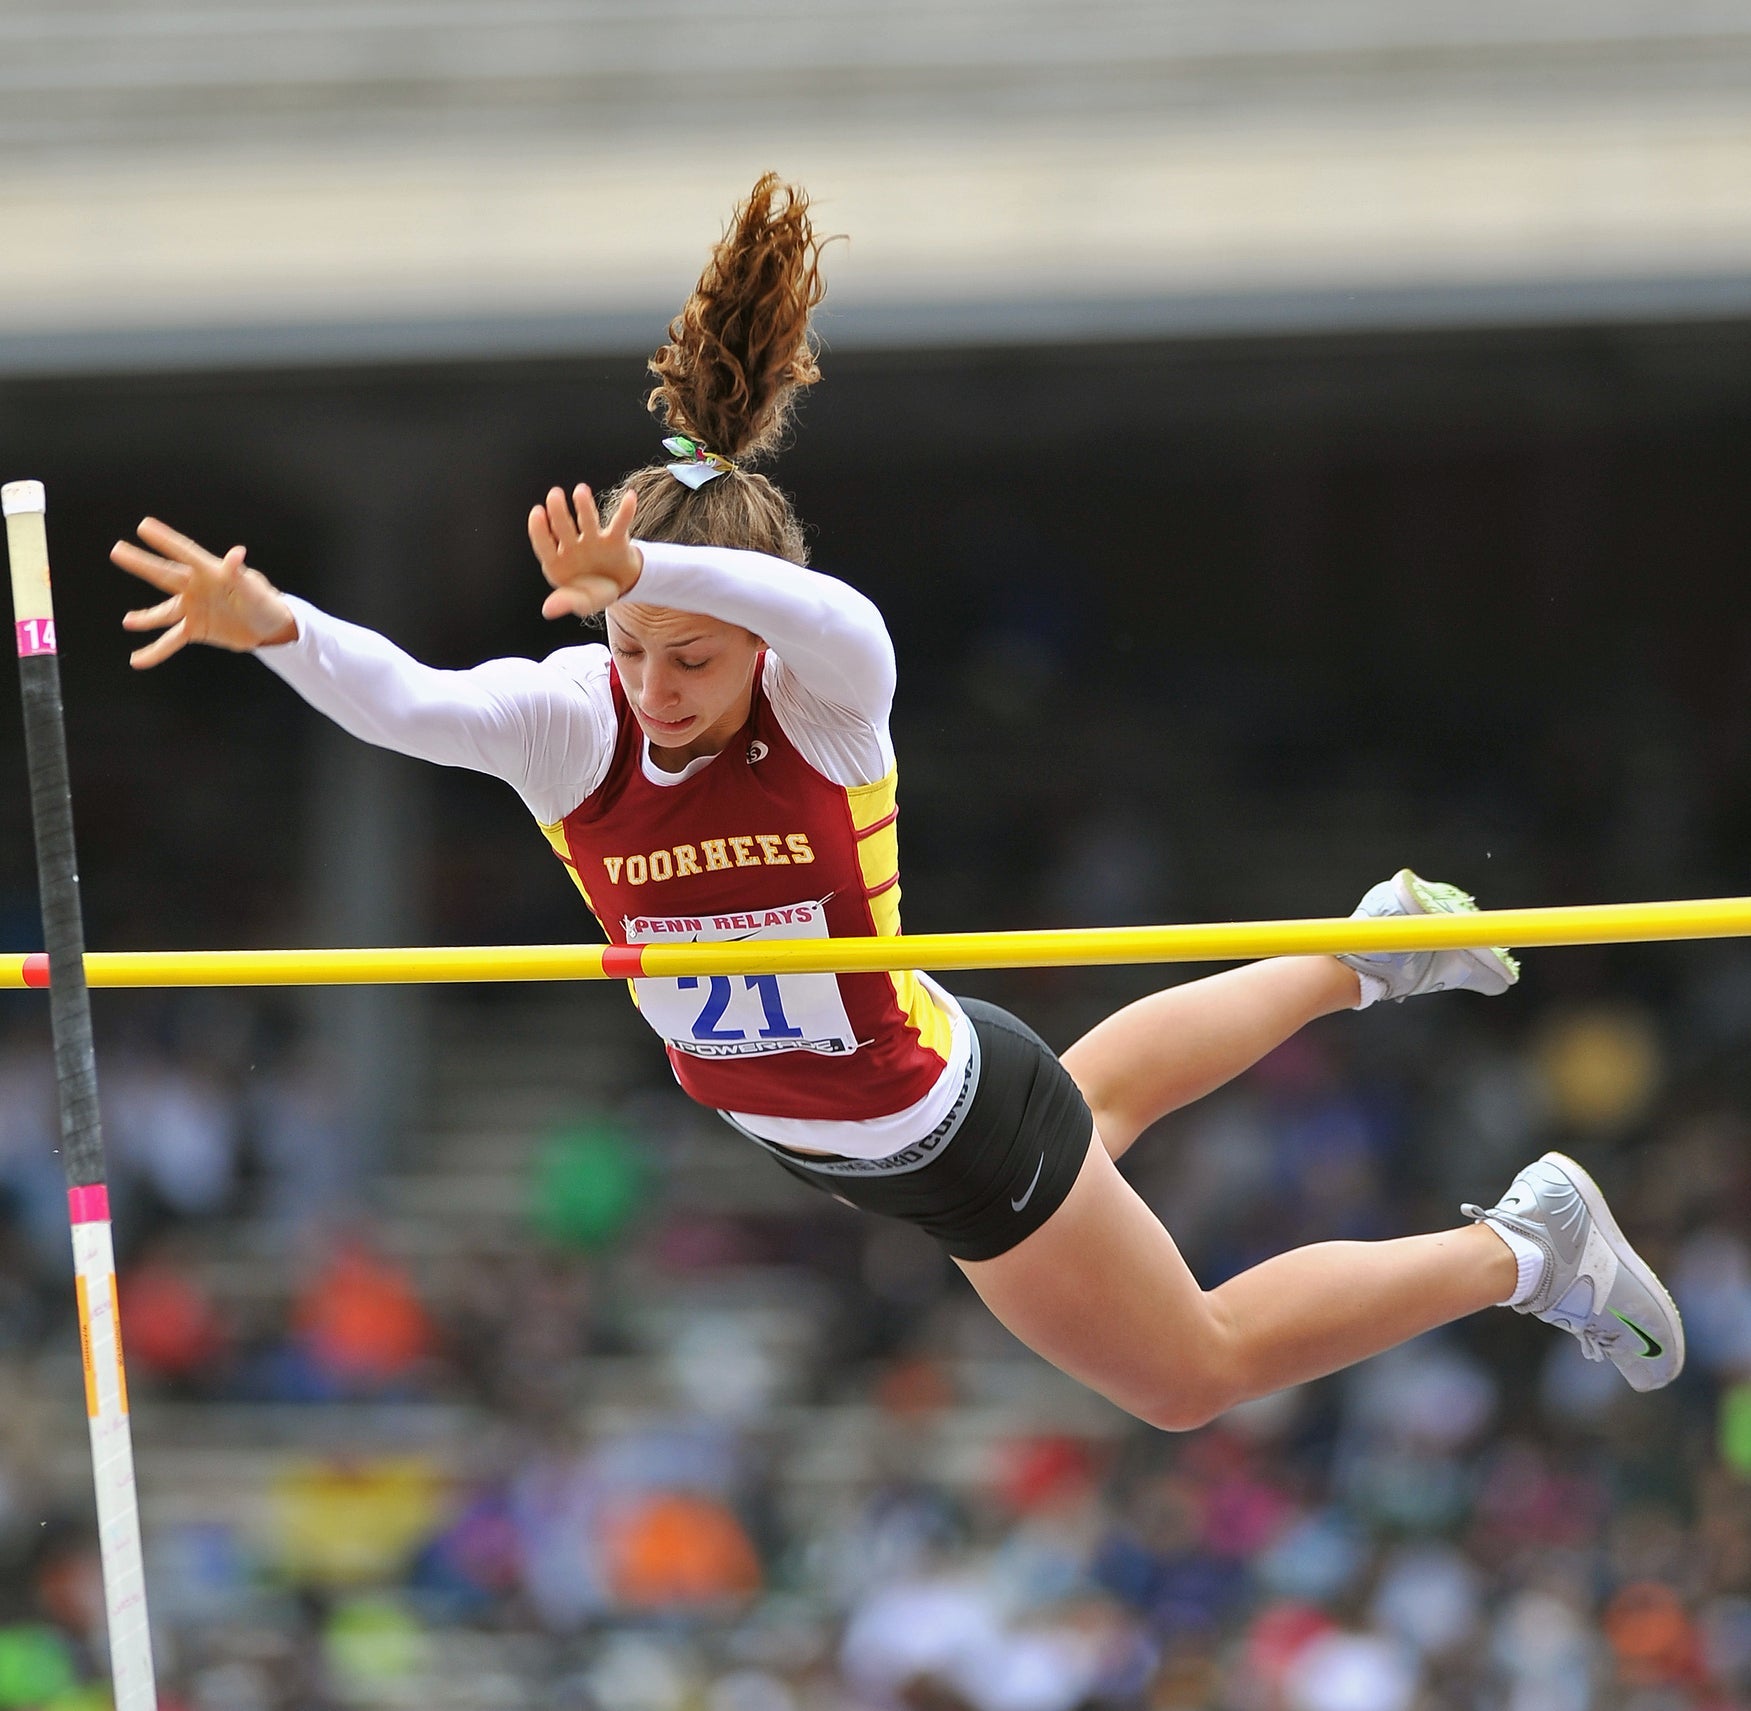
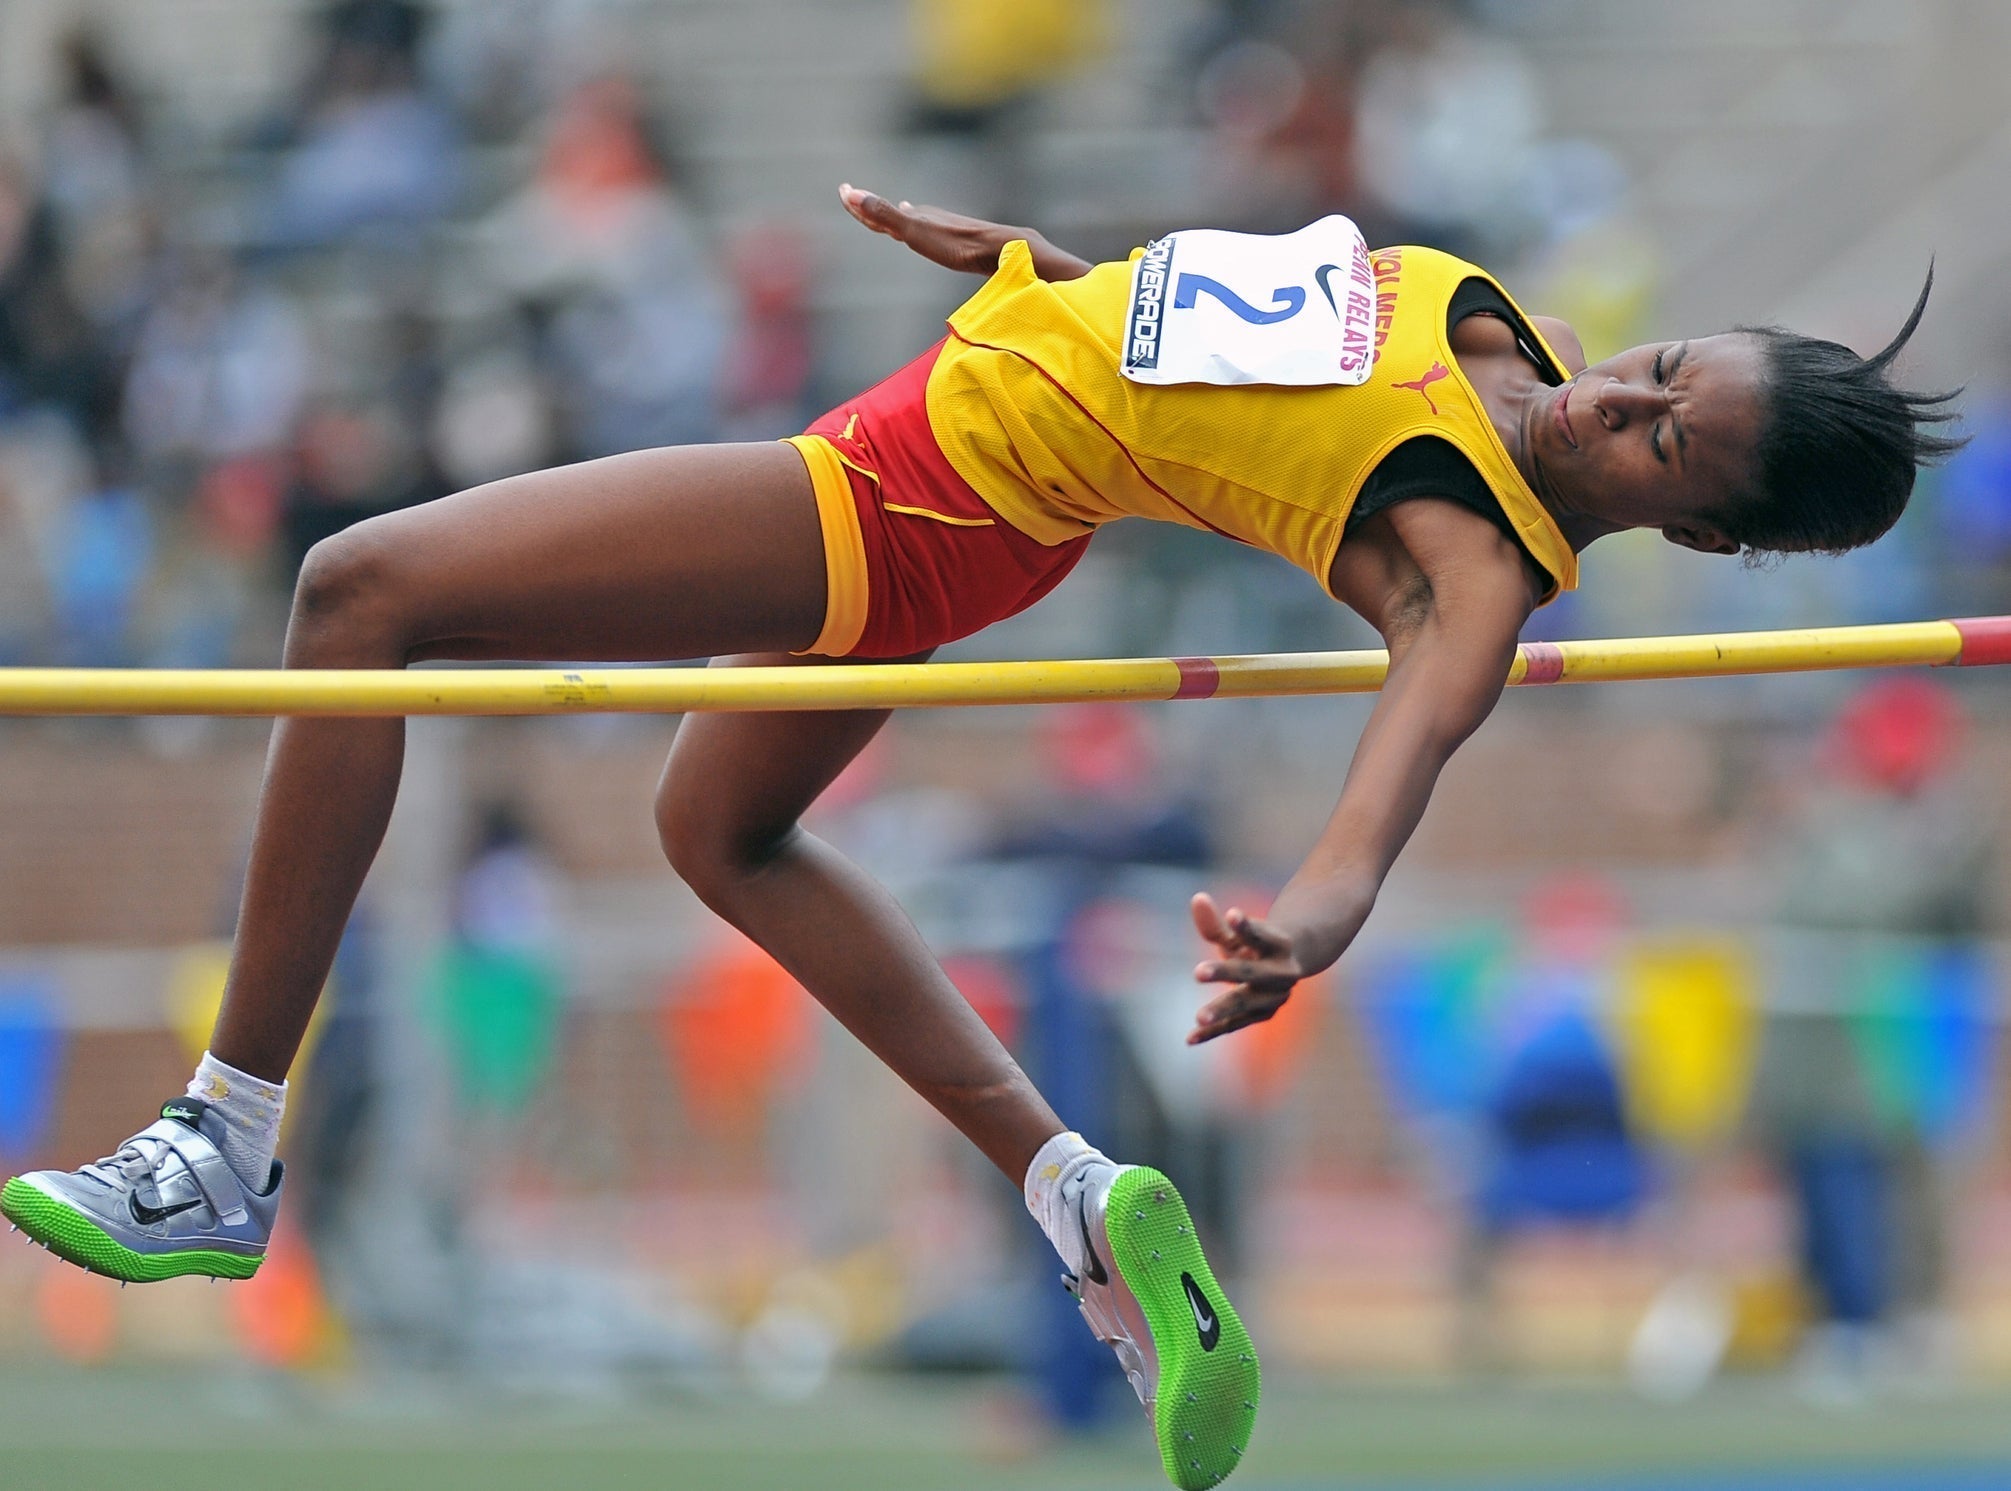
The Fosbury Flop is a high jump technique where an athlete approaches the bar in a J-curve, launching off one foot and going over the bar head-first with their back to it.

This method allows the body's center of mass to pass beneath the crossbar, enabling higher clearances. The technique relies on converting the horizontal kinetic energy of the approach into vertical potential energy during a brief 0. 18 to 0.
20-second takeoff phase.
The physics behind the flop involves generating angular momentum during the curved approach. This momentum allows the athlete to rotate their body around their center of mass while travelling over the bar.
The "arch" a jumper creates is essentially a rotation of body segments, allowing limbs to clear the bar while the actual center of mass follows a trajectory that passes up to 10 cm underneath the bar. This principle is a key element of its extraordinary efficiency.
- The athlete's horizontal velocity at the end of the run-up typically ranges from 7.1 to 8.0 m/s.
- During takeoff, this horizontal velocity reduces to between 3.8 and 4.5 m/s to maintain forward momentum over the bar.
- The vertical velocity of the center of mass at toe-off can reach 3.41 m/s for regional competitors and up to 4.40 m/s for elite athletes.
HoCn I Improve My High Jump Approach with a 7-Step Sequence?
Developing a strong J-curve approach is fundamental to high jump success, and this 7-step drill sequence systematically builds the necessary mechanics. Each drill focuses on specific biomechanical elements, collectively enhancing your ability to generate optimal force and lean.

This structured progression helps athletes establish a consistent, efficient approach, which is vital for achieving peak performance.
The sequence progresses from linear acceleration to controlled curves, integrating full body coordination. Athletes can expect to see an increase in clearance height as they master each stage.
This methodical training is essential for fostering the precise timing and body control required for an effective Fosbury Flop, allowing for a performance improvement of +2 to +5 inches.
- Consistent straight start alignment establishes a repeatable linear acceleration path.
- Continuous circle skips activate lateral hip stabilizers and condition joints for the necessary lateral shear forces.
- The "Pop-Up with Freeze" drill emphasises driving the lead leg high and keeping both arms raised directly overhead
ow Do Arm Swing Mechanics Differ for Various Jump Heights?
Arm swing mechanics vary significantly depending on the target bar height, influencing both individual and overall performance. For lower clearances, such as 1. 70m, a single-arm asymmetric technique is often sufficient, focusing on controlled momentum. As the bar rises to 2.

0m, elite jumpers shift to a double-arm symmetric action, which generates greater angular momentum and vertical lift.
This shift involves increased shoulder flexion range of motion and peak shoulder angular velocity, as evidenced by biomechanical data. The double-arm drive significantly amplifies the downward reaction force on the trunk, increasing vertical takeoff force.
This technique elevates the collective mass of the upper limbs, raising the center of mass at toe-off, which is crucial for clearing greater heights.
- A 1.70m jump typically uses a shoulder flexion range of motion of 90-110 degrees.
- For a 2.00m jump, the range increases to 140-160 degrees, indicating a more powerful and expansive swing.
- Peak shoulder angular velocity also rises from 7-9 rad/s for 1.70m jumps to 11-13 rad/s for 2.00m jumps.
Optimizing Center of Gravity Trajectory for Different Bar Heights
The precise trajectory of the center of gravity (CG) is paramount for successful high jumping, with slight adjustments needed for different bar heights. The aim is always to minimize the peak height of the CG while still allowing the body to clear the bar.

This is achieved by manipulating takeoff angle, velocity, and the efficiency of the "flop" over the bar.
For a 1. 80m (5 feet 11 inches) clearance, a jumper's CG should ideally peak around 1. 70m (5 feet 7 inches).
This typically requires a takeoff angle of approximately 76-78 degrees relative to the horizontal, with a vertical velocity at takeoff of about 3. 30-3. 50 m/s (10.
8-11. 5 feet/s). The focus at this height is often on maintaining a smooth, consistent approach and a strong, controlled rotation over the bar.
The horizontal velocity at this stage is crucial for initiating the rotation, often maintained at 4. 0-4. 2 m/s (13.
1-13. 8 feet/s) through the takeoff.
As the bar rises to 2. 00m (6 feet 6. 7 inches), the demands on the CG trajectory intensify.
For a 2. 00m clearance, the center of gravity will likely reach a peak height of about 1. 90m (6 feet 2.
8 inches). This necessitates a steeper takeoff angle of around 78-80 degrees, pushing the vertical velocity at takeoff to approximately 3. 80-4.
00 m/s (12. 5-13. 1 feet/s).
The horizontal velocity at takeoff would be slightly reduced compared to lower heights, perhaps in the range of 3. 8-4. 0 m/s (12.
5-13. 1 feet/s), to facilitate a more vertical lift. At this stage, the efficiency of the arch and precise timing of leg and arm actions become even more critical to ensure the CG passes underneath the bar.
For the most challenging clearances like 2. 20m (7 feet 2. 6 inches), the CG trajectory becomes an art form.
As previously mentioned, the CG typically reaches a peak height of 2. 10m (6 feet 10. 7 inches).
This requires an aggressive takeoff angle of 80-82 degrees, translating to a vertical velocity of approximately 4. 40 m/s (14. 4 feet/s) at toe-off.
The horizontal velocity is further minimized, often dropping to 3. 8-4. 0 m/s (12.
5-13. 1 feet/s), ensuring that almost all momentum is converted into vertical lift. Athletes at this level demonstrate exceptional body control, allowing them to create a deep arch and precisely rotate their body segments around the bar, optimizing the relative position of their CG to pass beneath the crossbar by several inches.
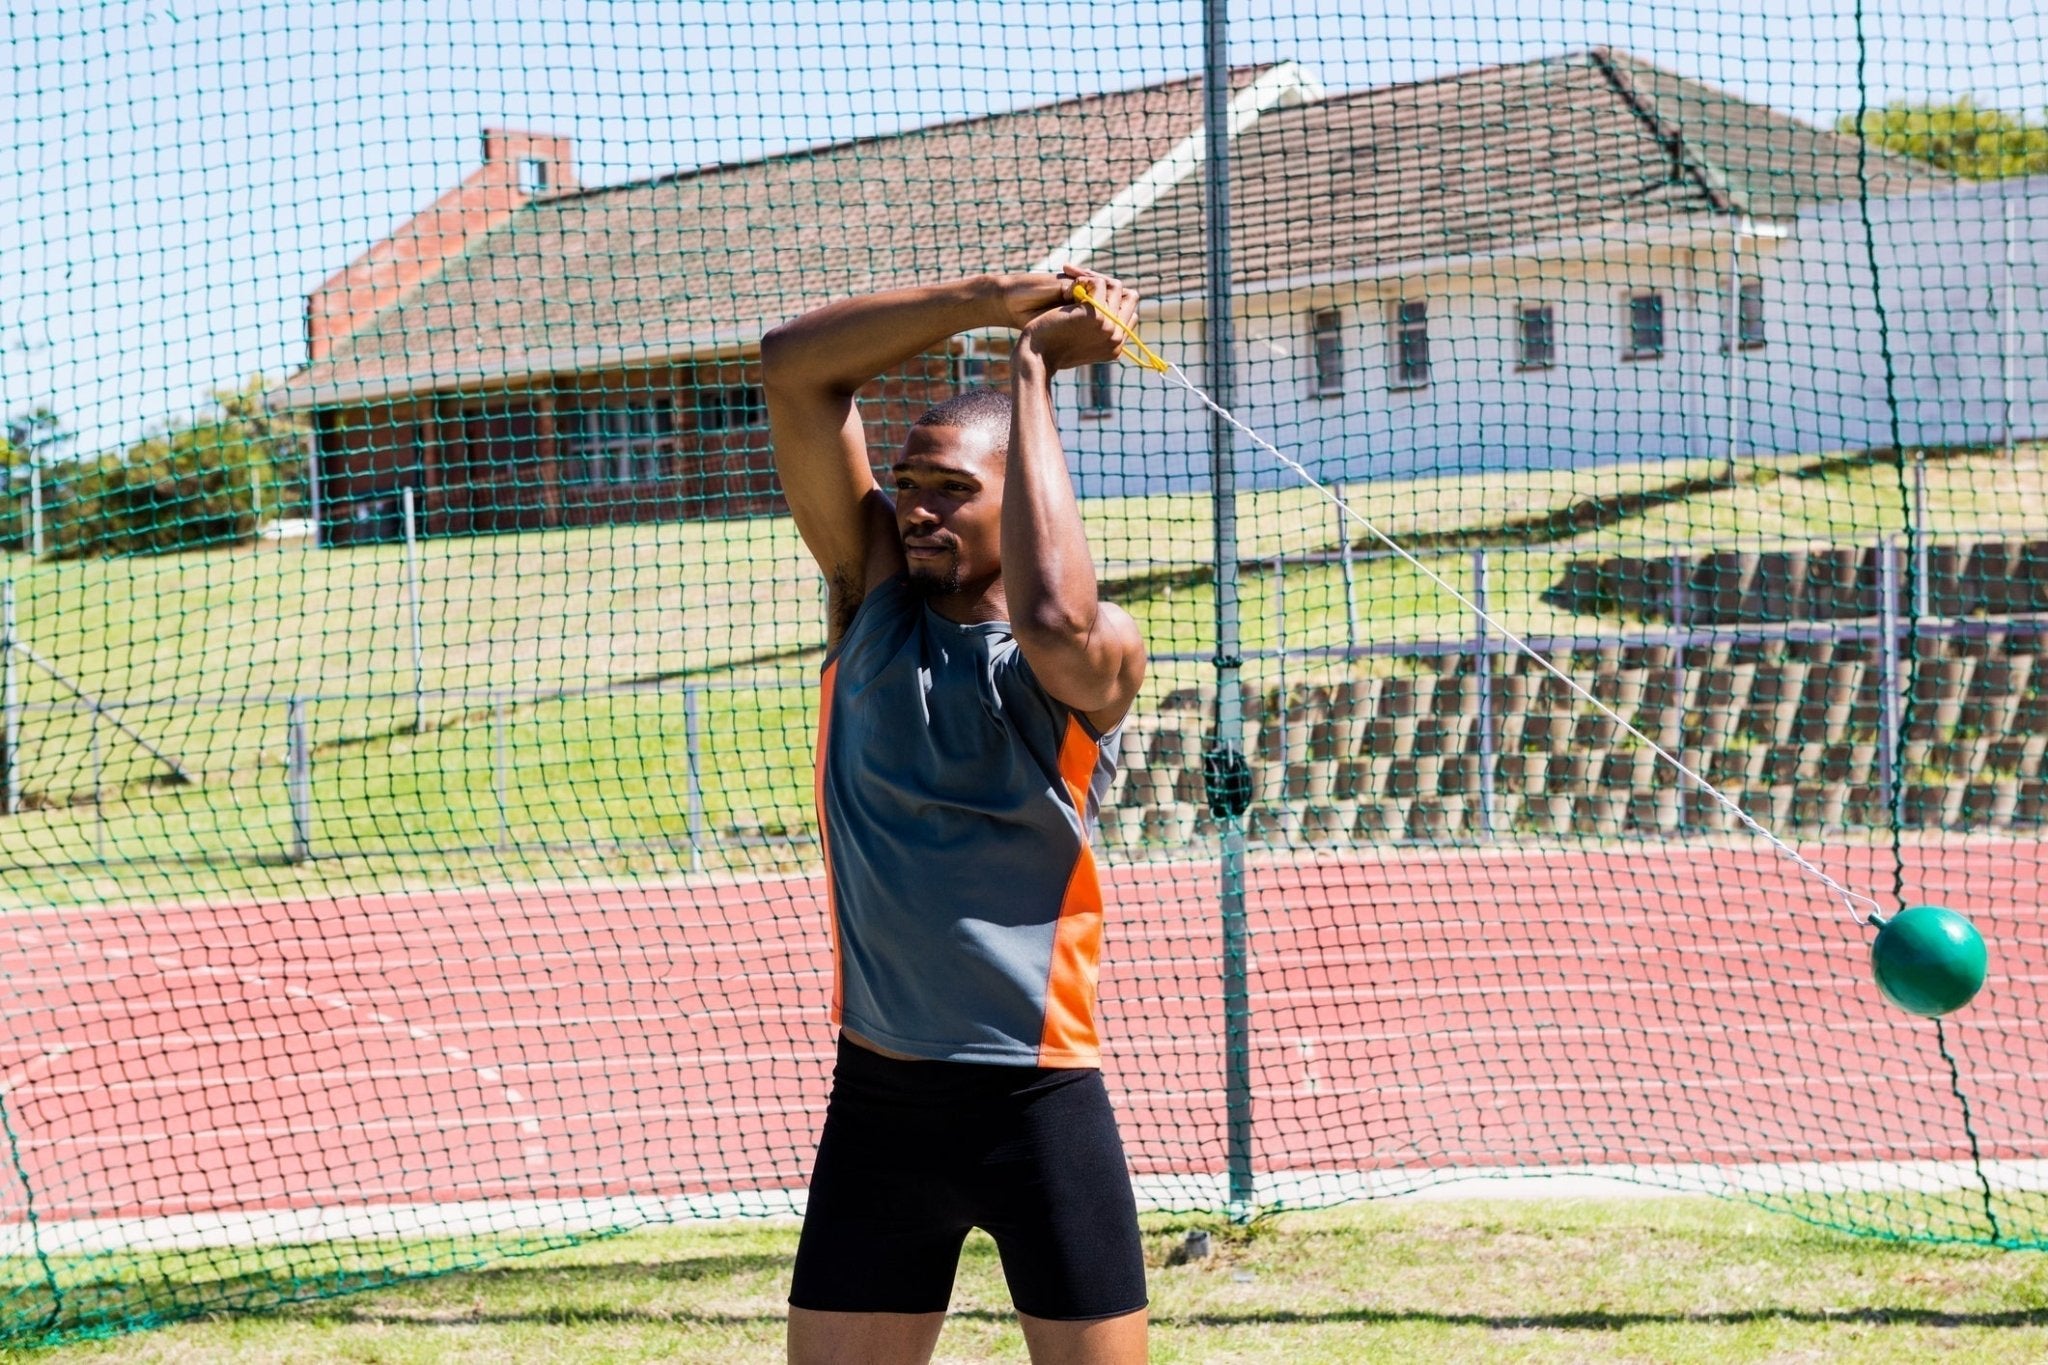
How Do I Select the Optimal High Jump Spikes for Takeoff Power?
Selecting the correct high jump spikes is crucial for optimizing takeoff power, with the right choice potentially improving power by 10%. The ideal spike stiffness depends on an athlete's body weight and jump style, which can be broadly categorised as "speed" or "power" jumpers.

Speed jumpers exhibit higher leg stiffness, while power jumpers tend to have a more compliant profile during takeoff.
Lightweight speed jumpers benefit from highly flexible TPU plates to complement their natural stiffness, preserving horizontal velocity. Conversely, heavier power jumpers require full-length carbon fiber plates with high-density PEBAX wrap. This stiffer configuration prevents plate collapse and optimises force absorption during powerful penultimate strides, ensuring efficient energy transfer into vertical lift.
- Lightweight speed jumpers (under 65 kg) seeking a compliant profile use highly flexible TPU plates.
- Middleweight power jumpers (65-80 kg) benefit from semi-rigid TPU plates with carbon midfoot inserts.
- Heavyweight speed jumpers (over 80 kg) require full-length carbon fiber flyplates for maximum resistance to extreme ground forces.
What Are the 5 Common High Jump Approach Angle Mistakes?
Common approach angle mistakes can significantly reduce jump height by up to 10cm, hindering an athlete's performance. These errors disrupt the critical balance between horizontal speed and vertical lift, often caused by poor spatial awareness or inconsistent stride patterns.
Correcting these issues is vital for achieving maximal clearance and avoiding disqualifying contact with the bar.
For example, stepping out of the curve during the penultimate stride flattens the approach radius, reducing the inward lean necessary for generating centripetal force and lateral rotation. Similarly, early verticalization, where a jumper stands upright too soon, eliminates rotational initiation, leading to a "sitting on the bar" outcome.
Addressing these specific faults through targeted training can lead to substantial height gains.
- Stepping out of the curve flattens the approach radius, reducing inward lean and rotational velocity.
- Travelling along the bar results from an approach angle significantly less than the optimal 35-45 degree range, increasing bar contact risk.
- An early verticalization mistake causes the jumper to stand up too soon, removing lateral torque at takeoff and preventing proper rotation.
*Source: [ovid. com](https://www. ovid.
com/jnls/acsm-msse/pdf/00005768-200002000-00032~influence-of-midsole-bending-stiffness-on-joint-energy-and)*
How to Optimize Your High Jump Performance
Optimizing your high jump performance requires attention to several biomechanical and technical details. Consider your natural jump style and how it influences your approach and equipment choices. Also, evaluate the quality of your training environment for safety and consistency, and don't forget your track and field jerseys.
- Assess Your Natural Jump Style: Determine if you are more of a "speed" or "power" jumper to tailor training and equipment.
- Review Approach Consistency: Can you replicate your J-curve approach with consistent steps and lean every time?
- Evaluate Spike Suitability: Does your current footwear match your weight and jump style for optimal takeoff power?
Source: gazellesports.com
? Frequently Asked Questions
5 questionsFinal Thoughts
Mastering the Fosbury Flop is an ongoing journey that blends precise biomechanics with consistent practice. Understanding the critical role of your approach, arm swing, and even footwear allows you to unlock greater performance potential.
By meticulously refining these elements and addressing common errors, you can significantly enhance your jump height and achieve your athletic goals. Remember that dedication to proper technique, supported by suitable equipment, forms the foundation of every successful high jump.